I grabbed the openSUSE 11.4 64-bit ISO last night and spent the afternoon installing it in a VM. Here’s the full walkthrough, screenshots and all.
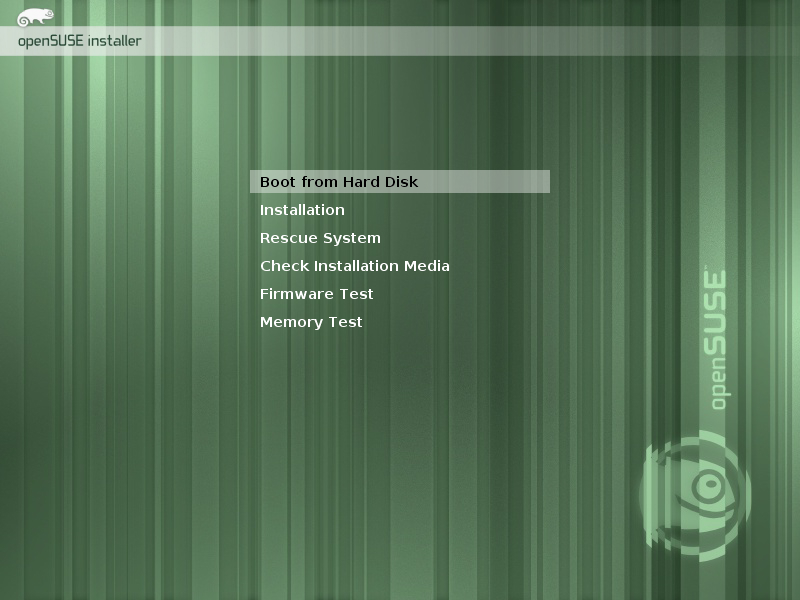
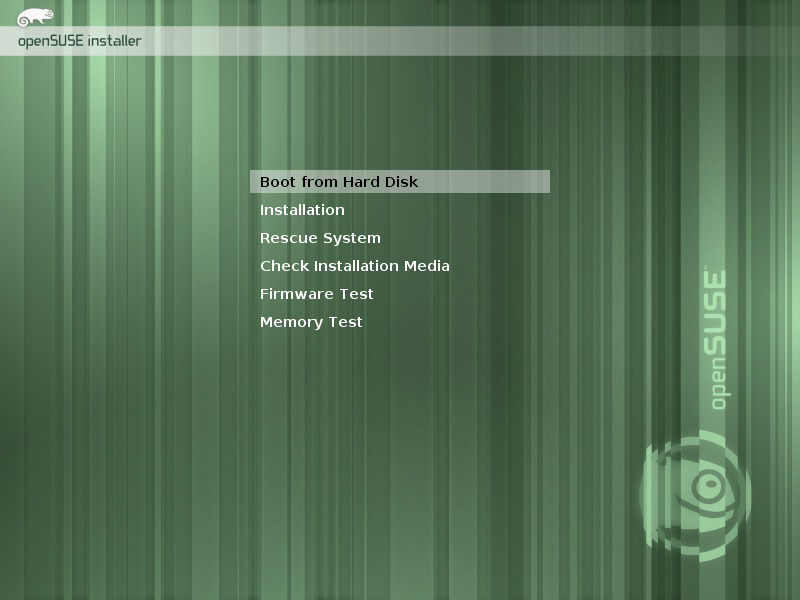
Boot menu. Standard options – Installation, Rescue System, media check. Nothing fancy, but it gets the job done.
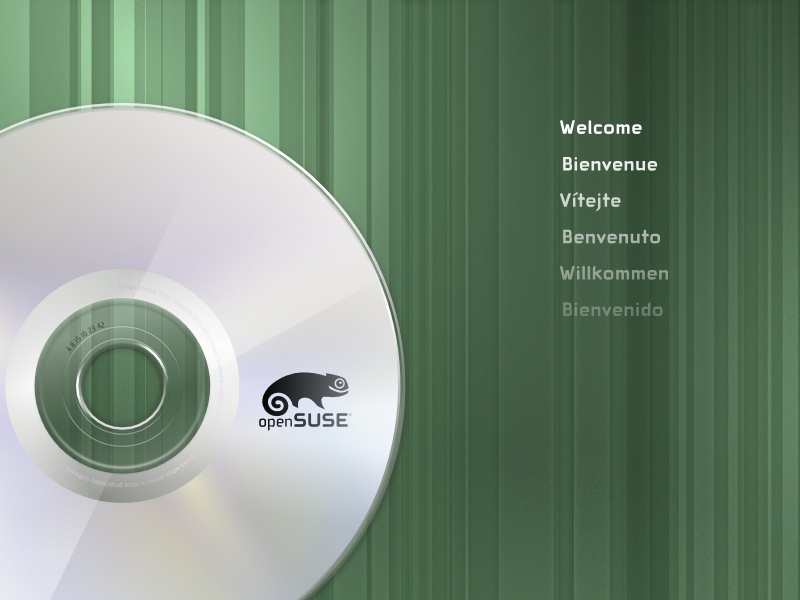
Welcome screen. The green chameleon is back, and so is the striped wallpaper that’s become the distro’s signature look.
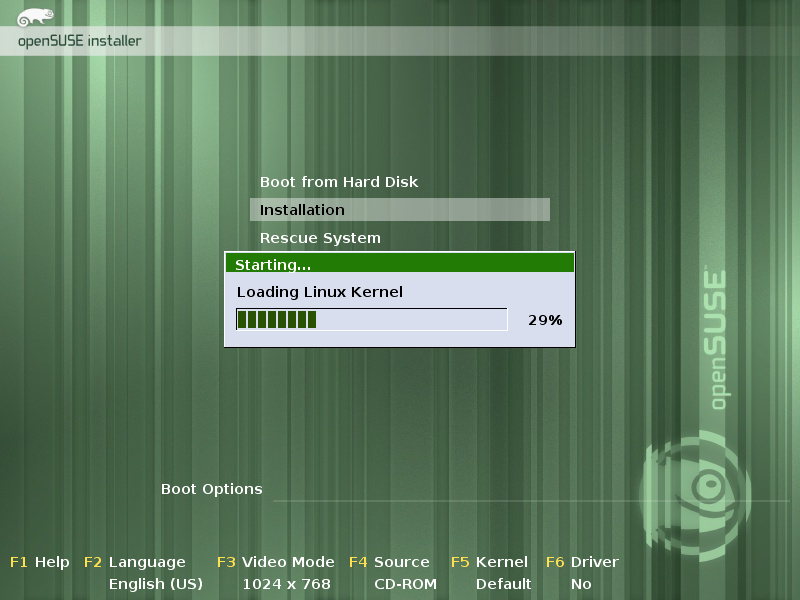

Kernel loading, then the chameleon appears. Clean and minimal – I like it.
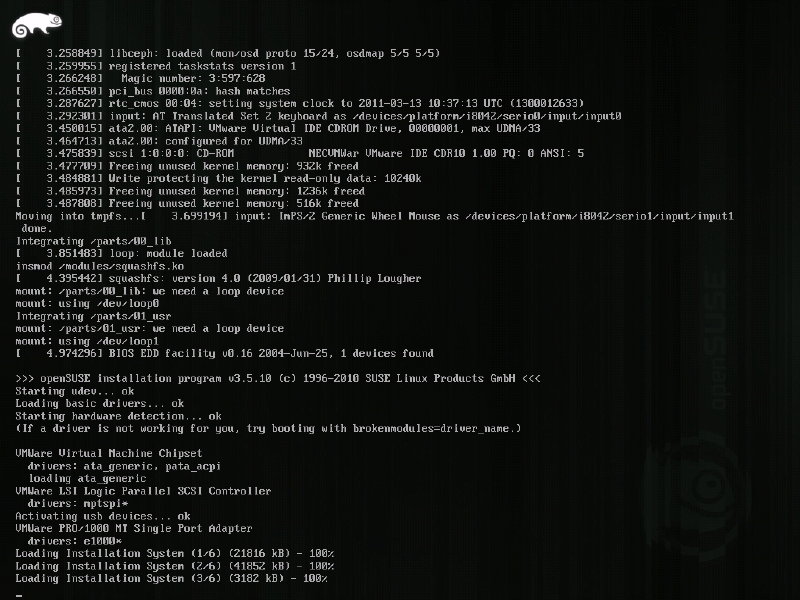
The installer kicks off. You can see it detecting the VMware hardware, loading modules, mounting the squashfs filesystem. The whole thing runs from RAM at this point.
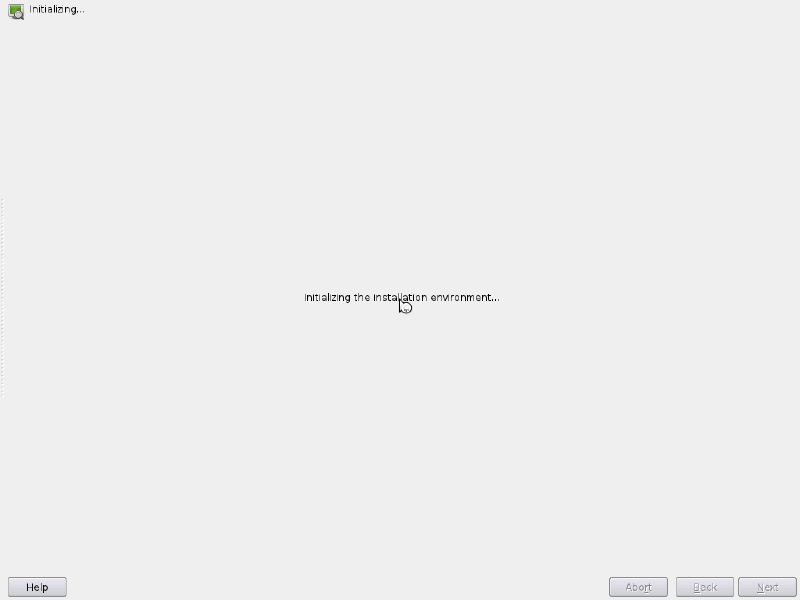
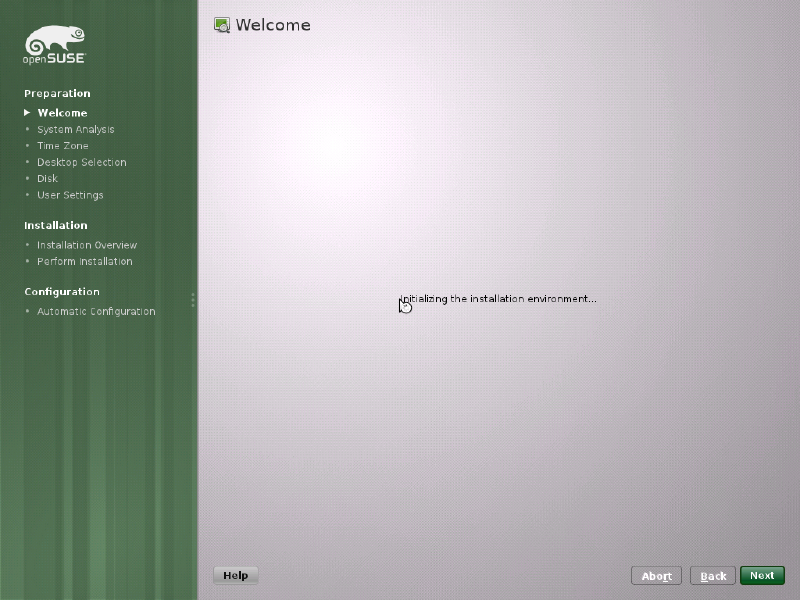
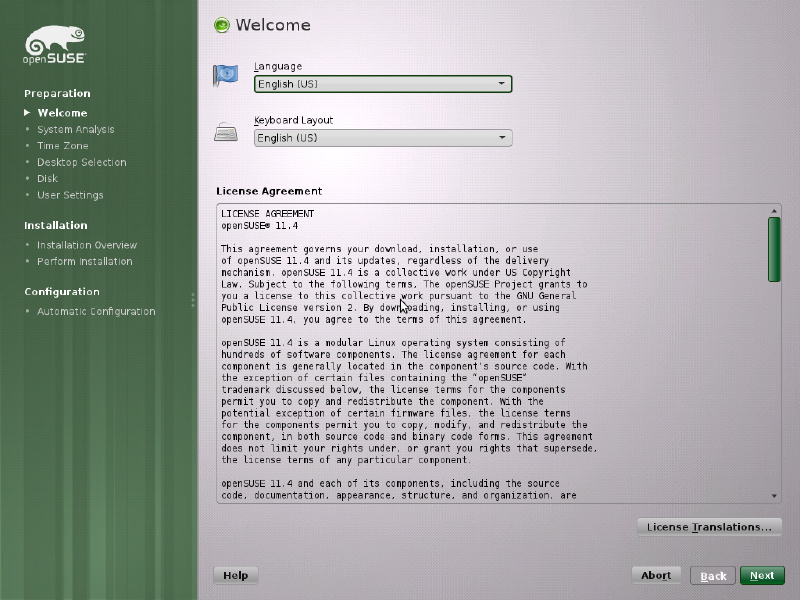
Welcome to YaST2. The installer is laid out in three phases on the left: Preparation, Installation, Configuration. You pick your language, accept the GPL, and we’re off.
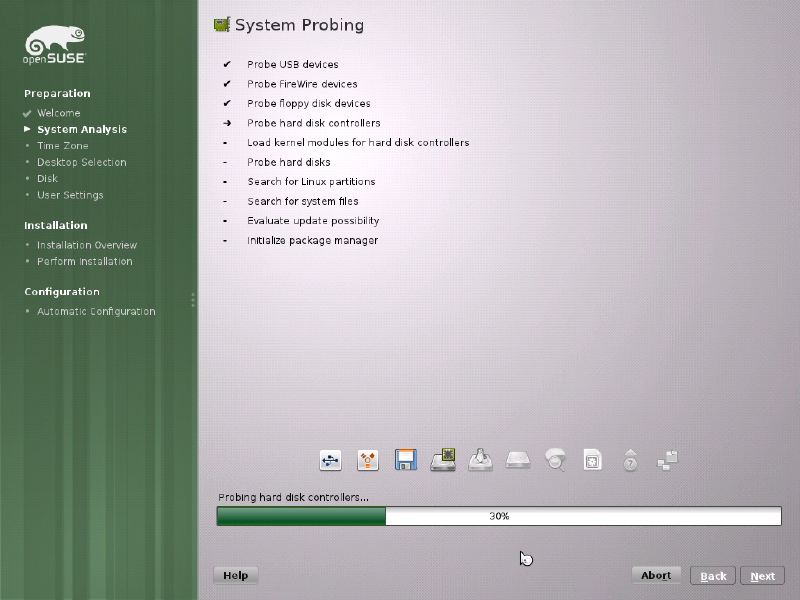
System analysis. It probes USB, FireWire, floppy, hard disk controllers, kernel modules, existing Linux partitions, and initialises the package manager. All automatic.
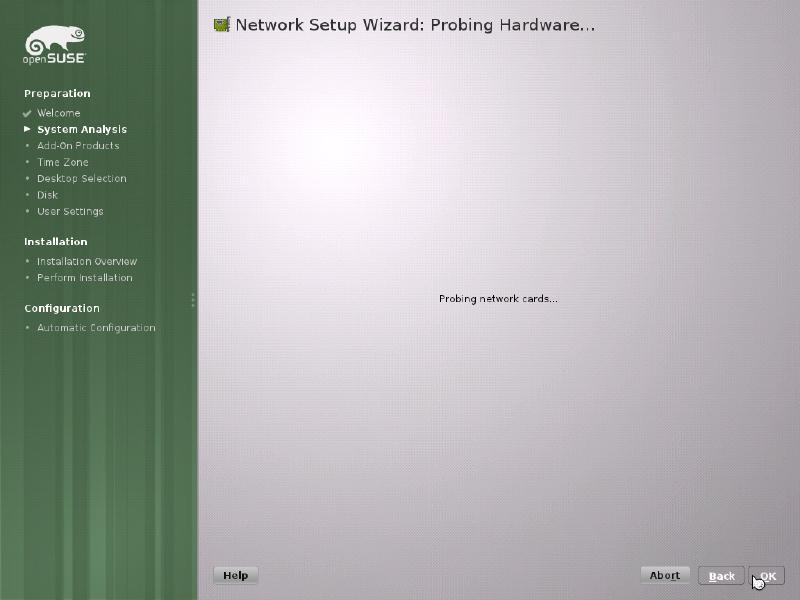
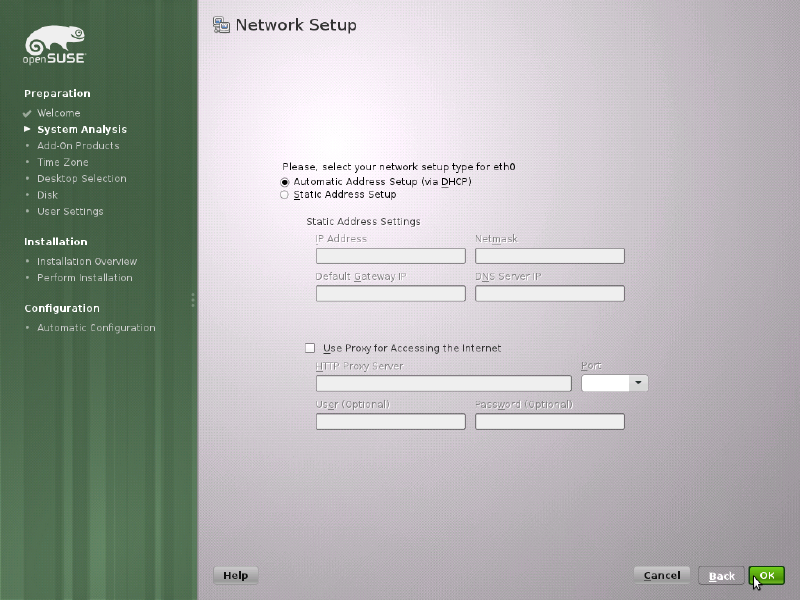
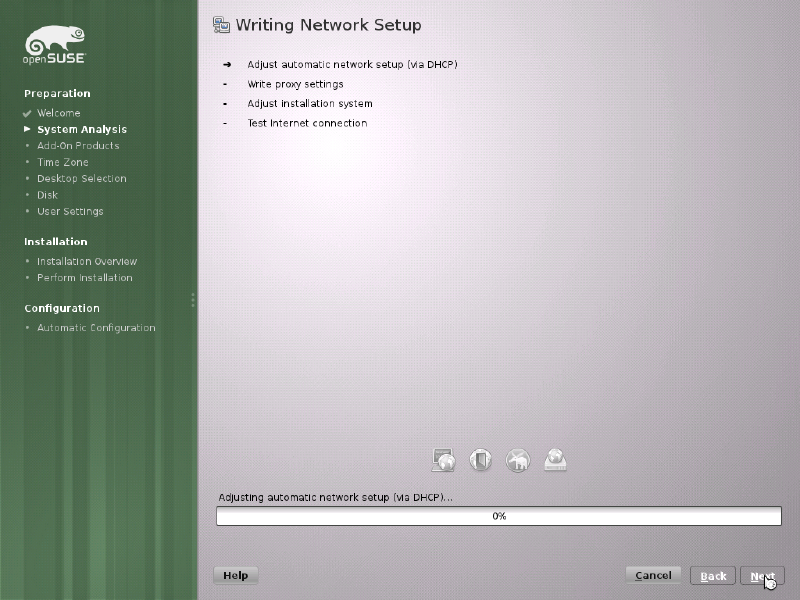
Network setup. DHCP by default, which is fine for a VM. It writes the config and tests the connection before moving on.
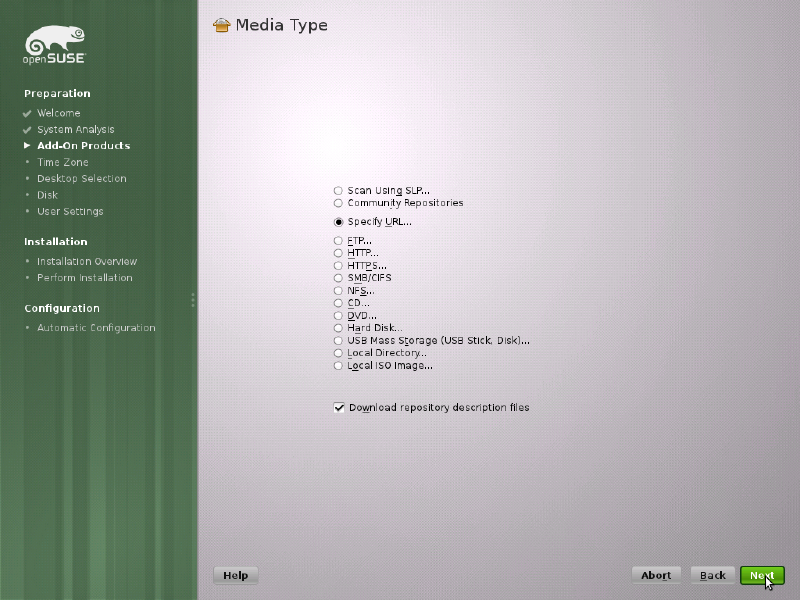
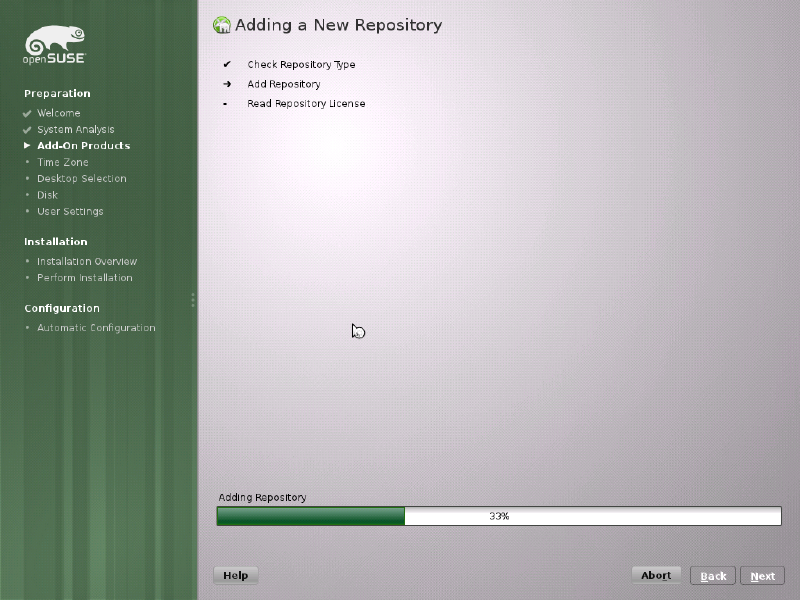
Add-On Products. You can pull in extra repos from the internet, a DVD, or a local directory. I went with the default community repos.
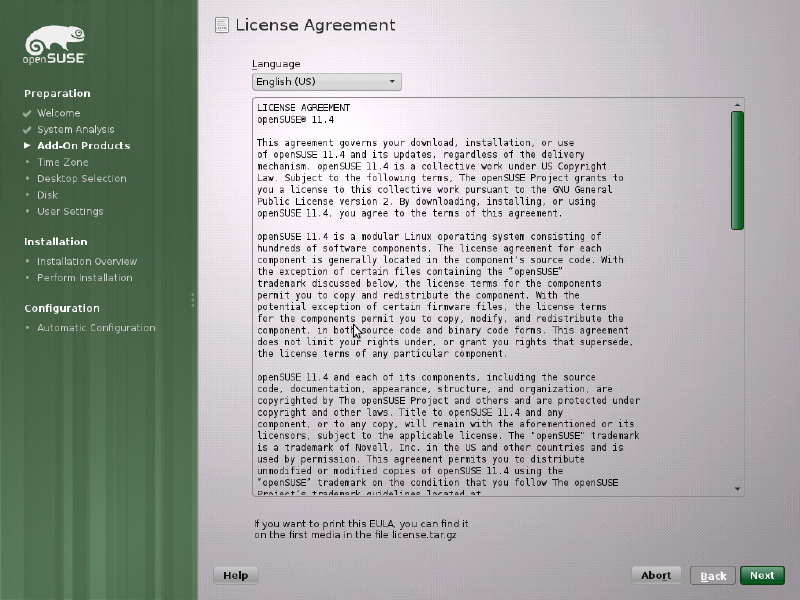
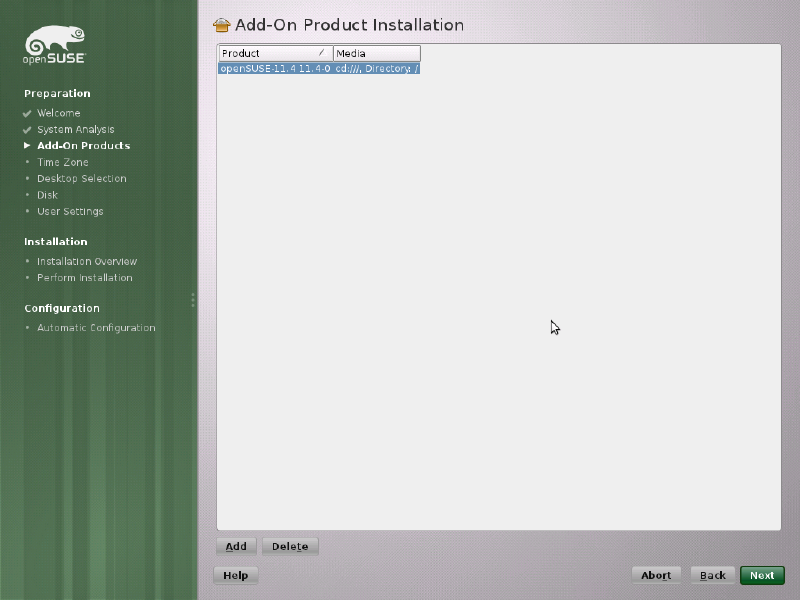
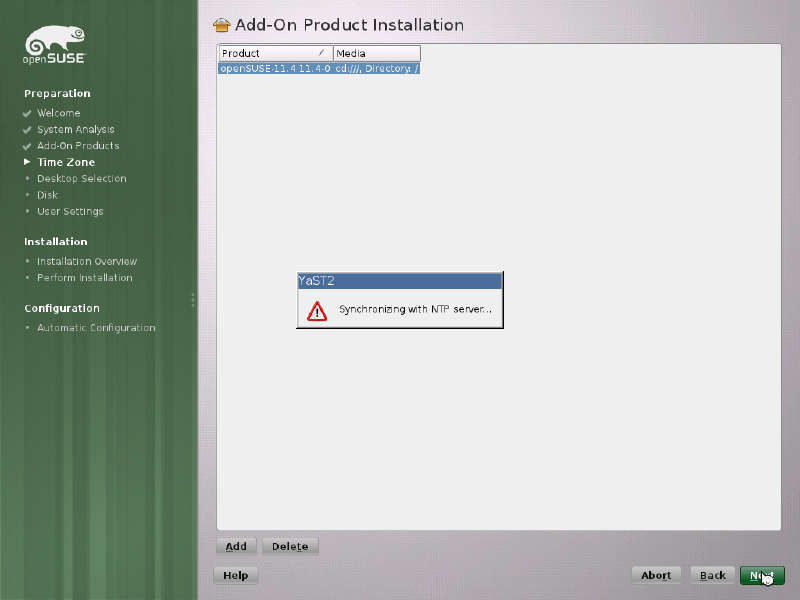
License accepted. The add-on product from the install media is listed and ready to go.
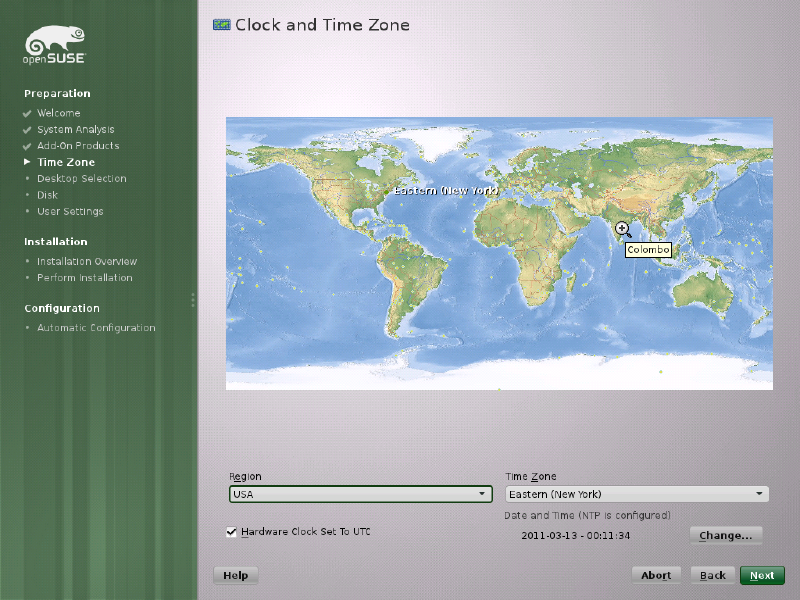
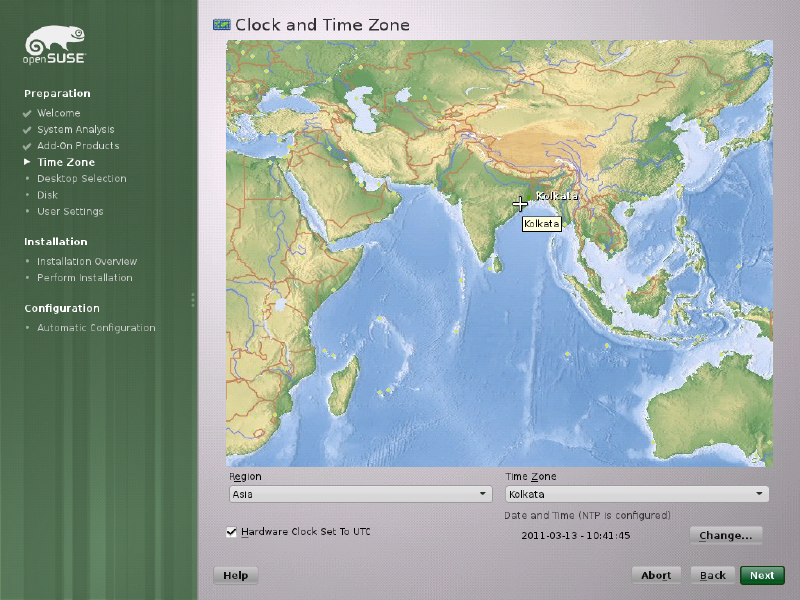
Time zone. There’s a proper world map you can click on, or you can pick from the dropdown. I went with Kolkata.
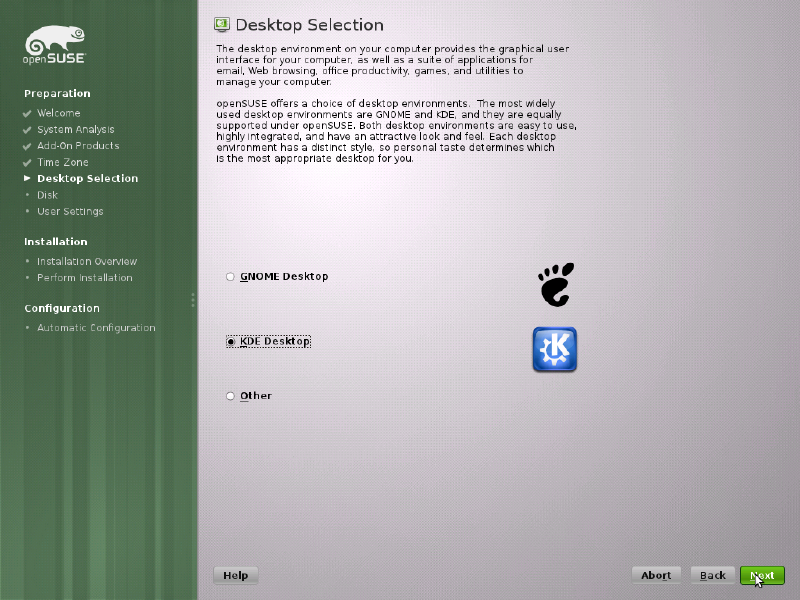
Desktop choice: GNOME or KDE. I picked KDE since that’s what I’m most comfortable with.
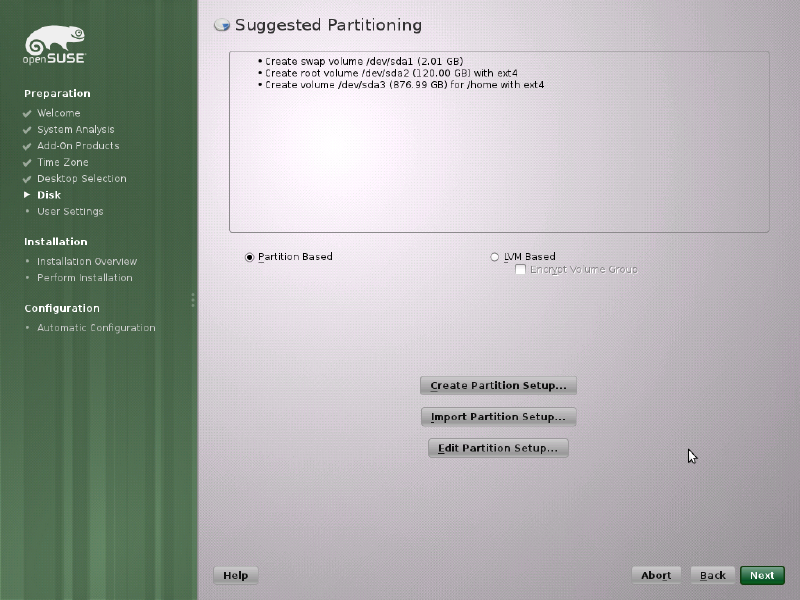
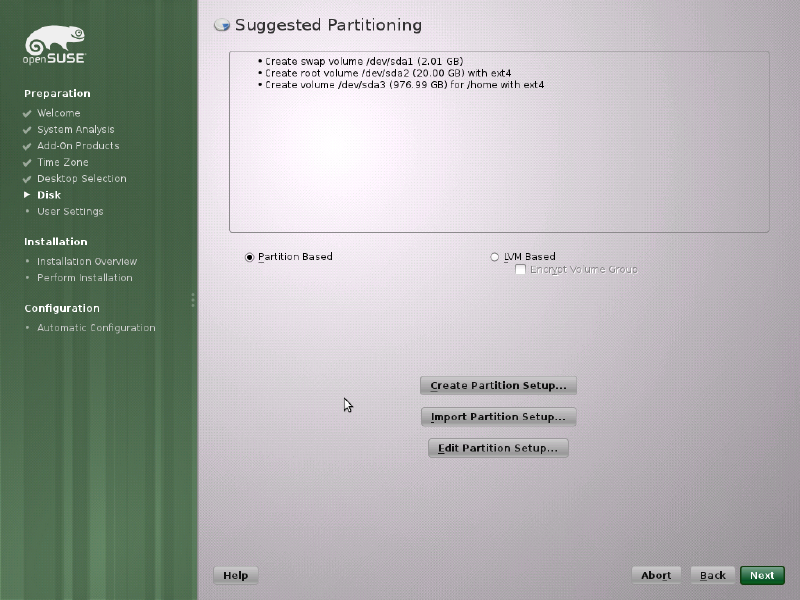
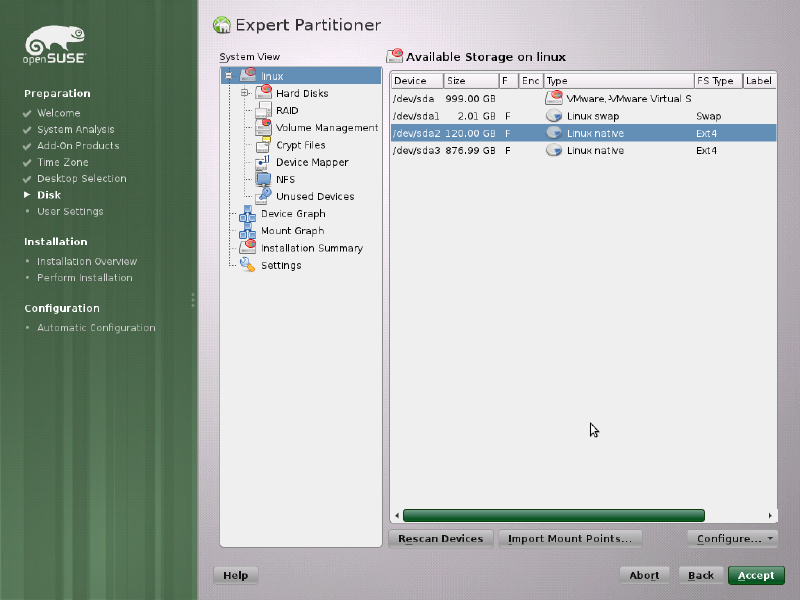
Partitioning. The installer suggests a swap, root, and home split. I went with the defaults – 2 GB swap, 120 GB root, the rest for /home. All ext4. You can also go LVM if you want the flexibility.
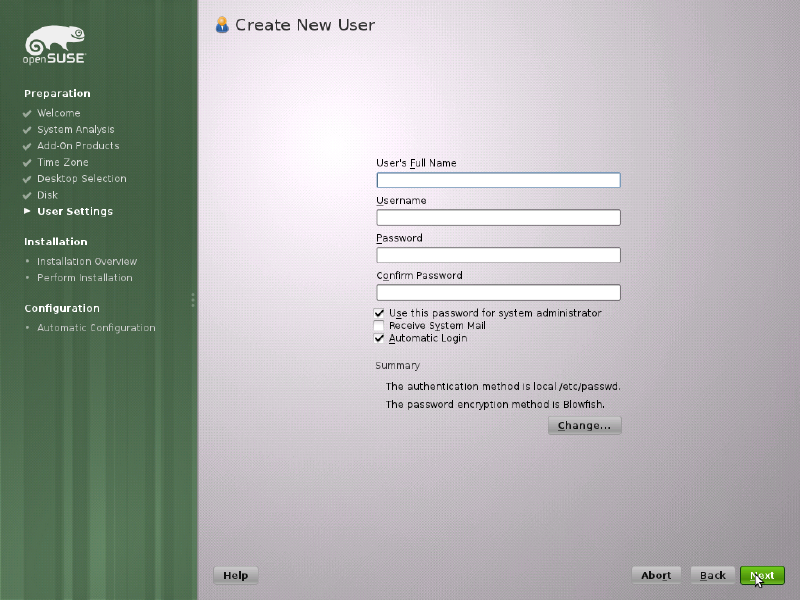
User account. Set the username, password, and whether to enable automatic login. Simple enough.
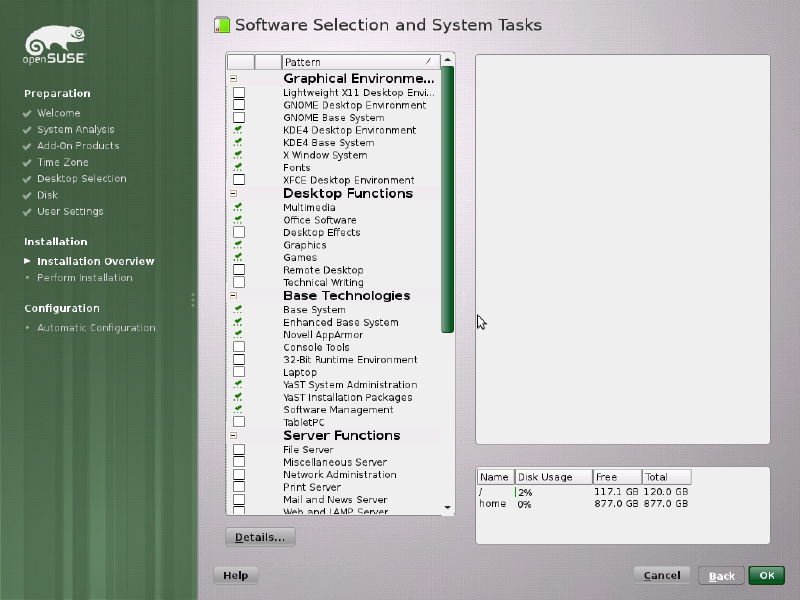
Software selection. This is where you pick what gets installed. The left panel shows patterns like Graphical Environments, Desktop Functions, Base Technologies, Server Functions, and Development. The right panel shows disk usage for / and /home.
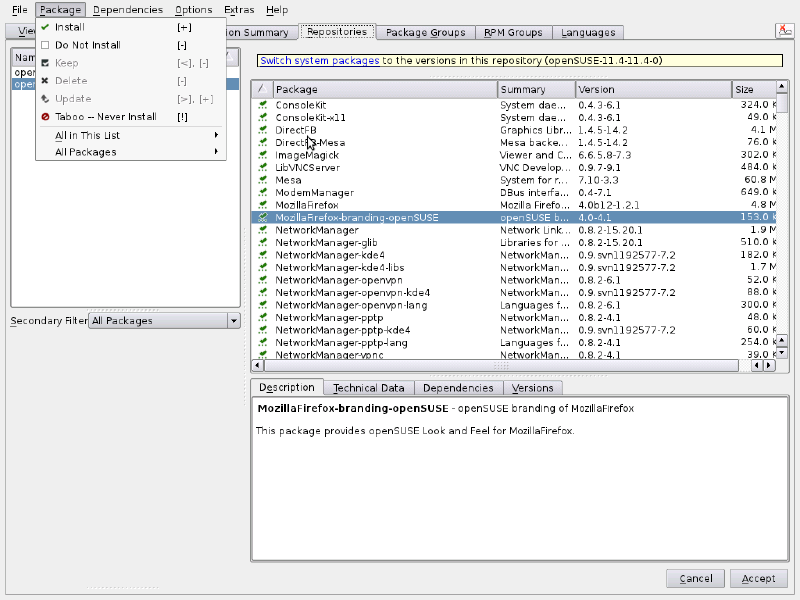
Repository configuration. The main repo and the update repo are enabled by default. You can add more from the list.
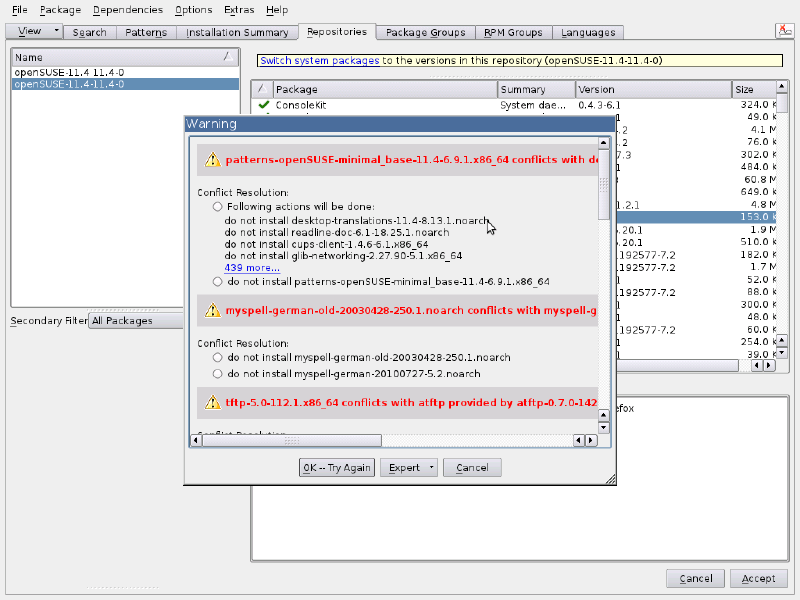
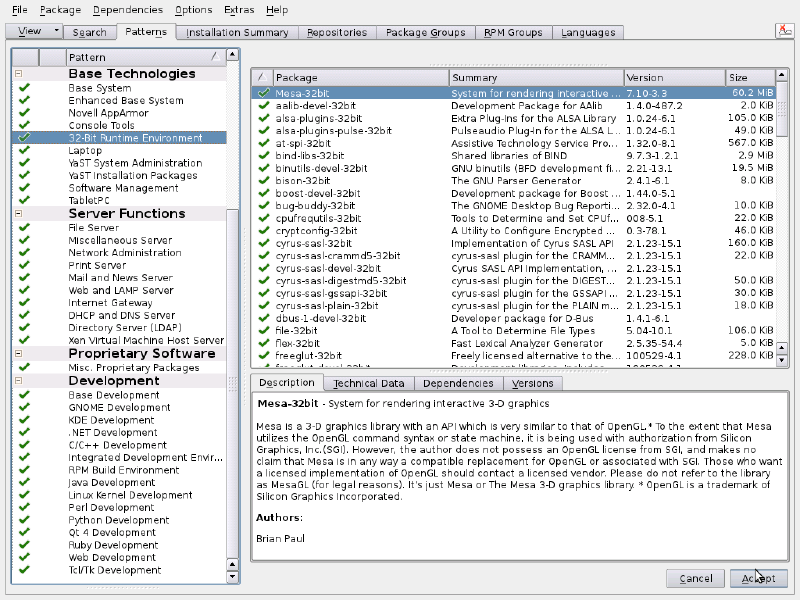
I added the 32-bit runtime environment for compatibility. There were a few dependency conflicts that YaST resolved automatically – you just click through the warnings.
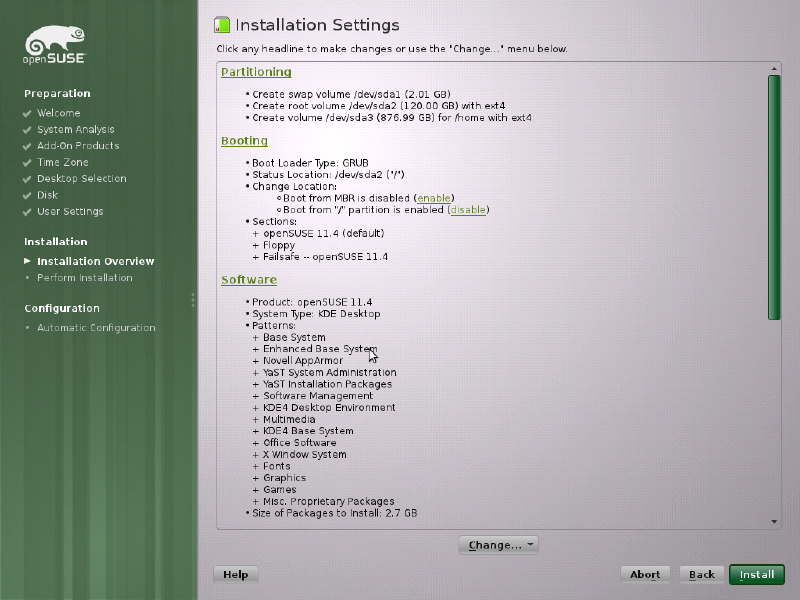
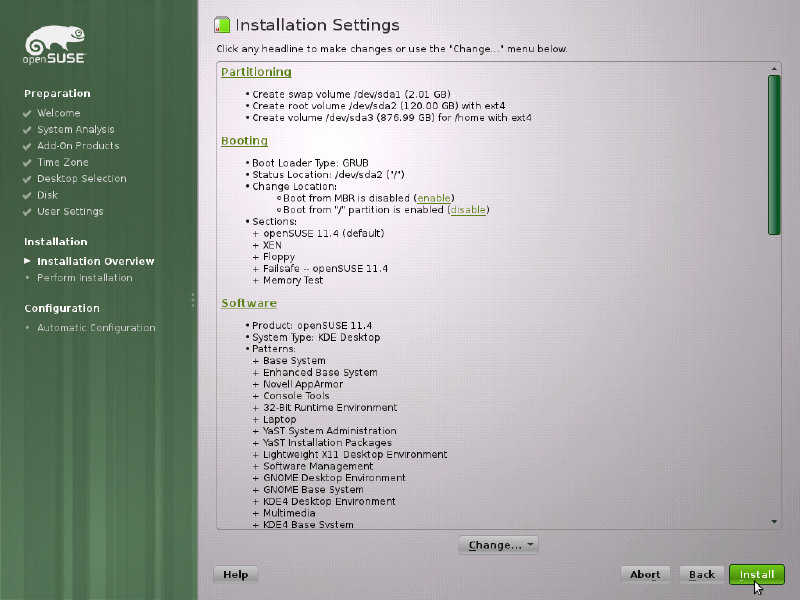
Installation summary. Partitioning, bootloader (GRUB on /dev/sda2), and the full software list. 2.7 GB of packages to install. Time to click ‘Install’.
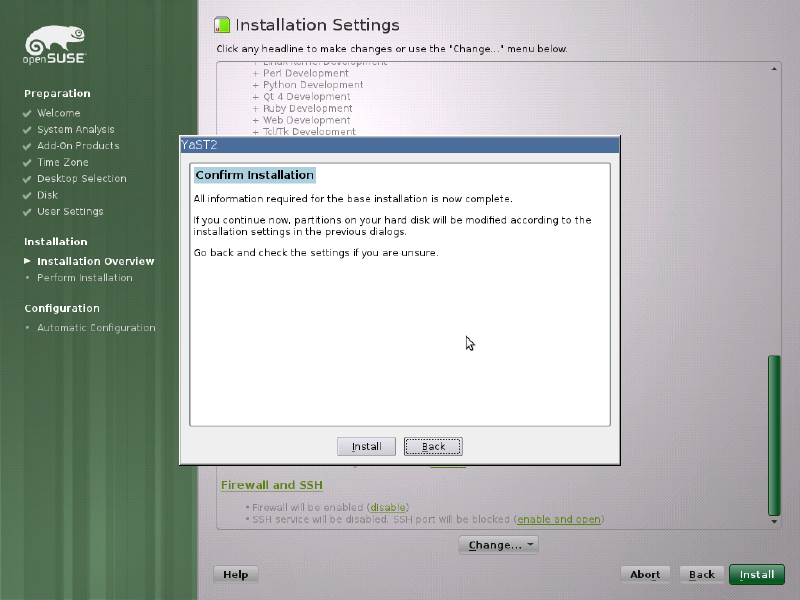
Confirmation dialog. It warns you that partitions will be modified. Double-check everything, then hit Install.
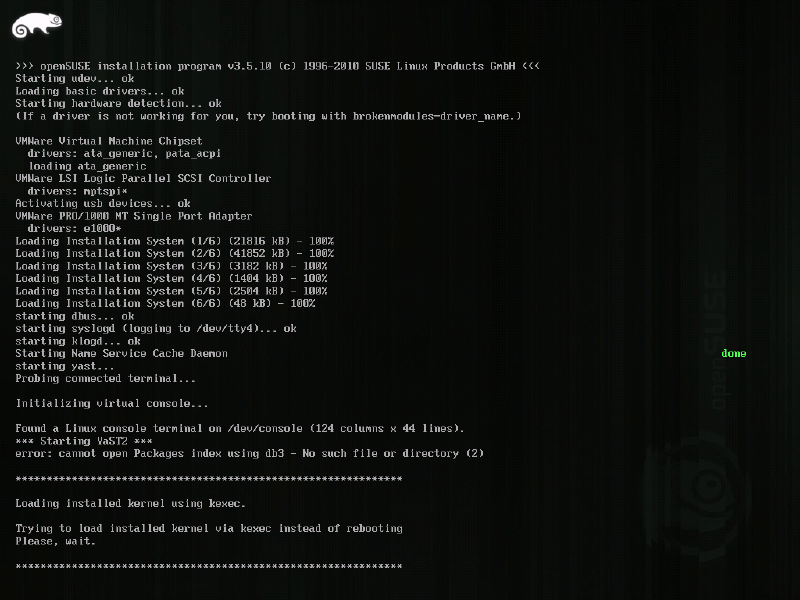

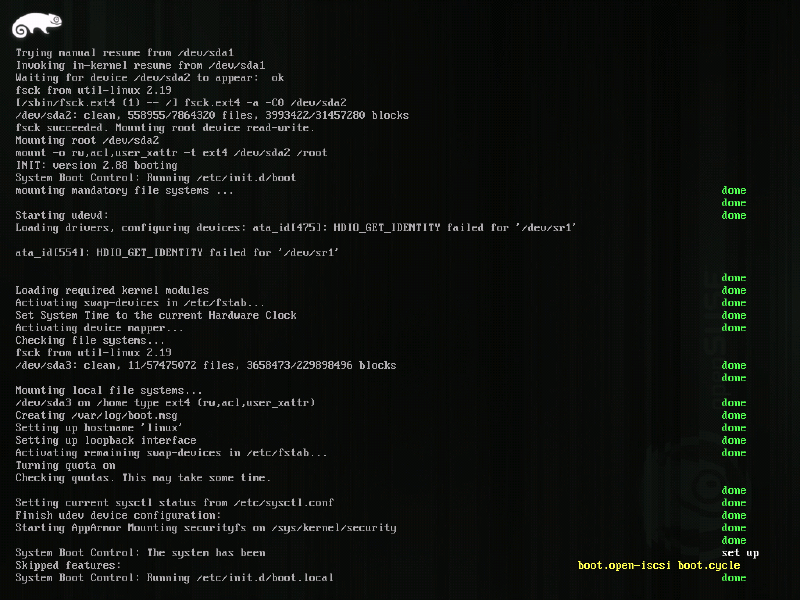
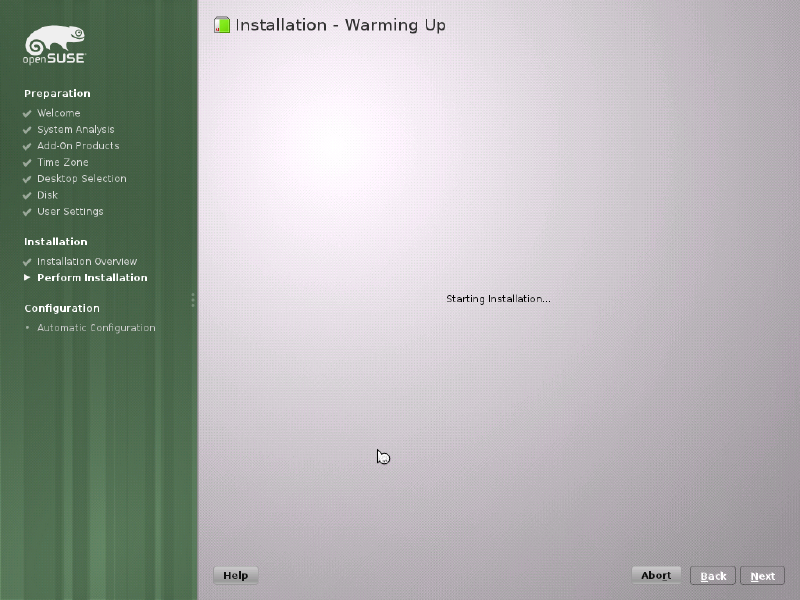
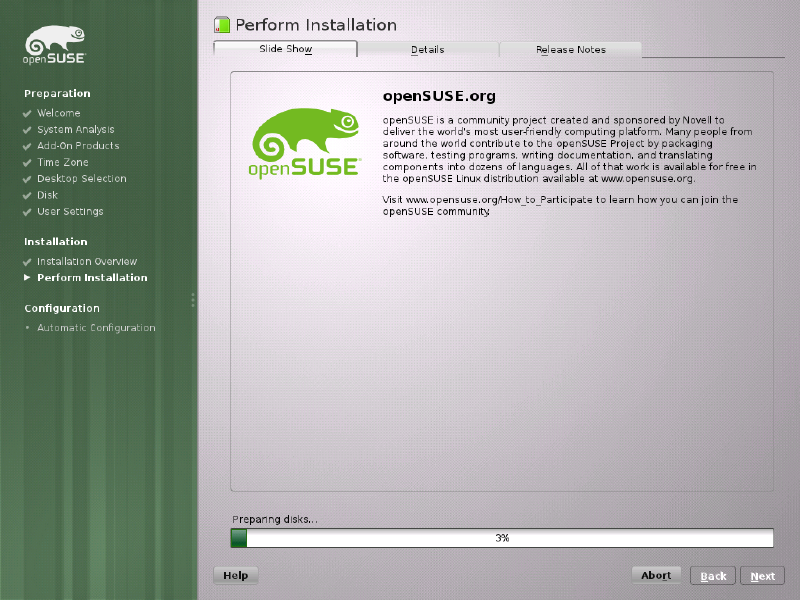
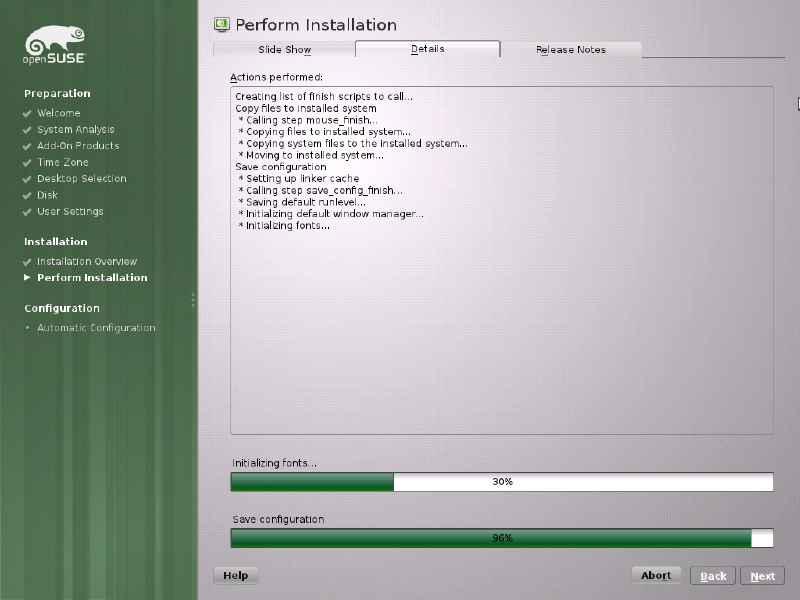
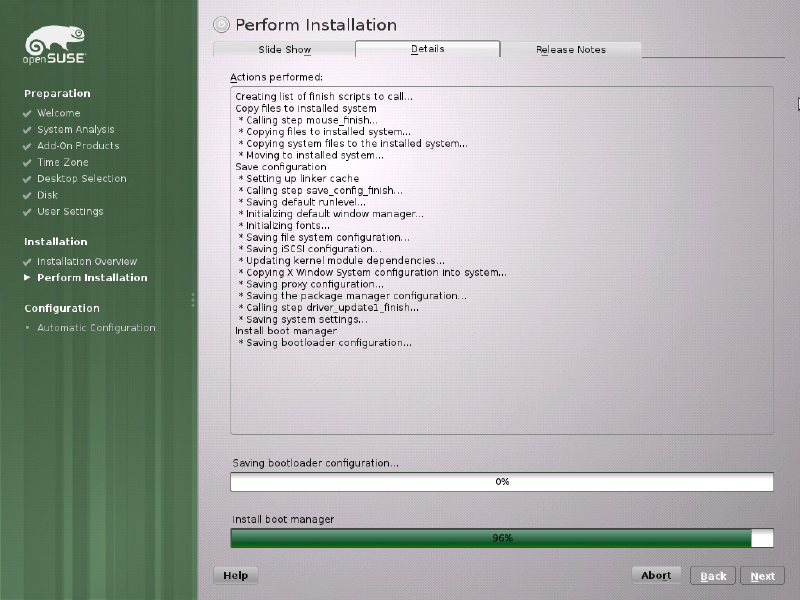
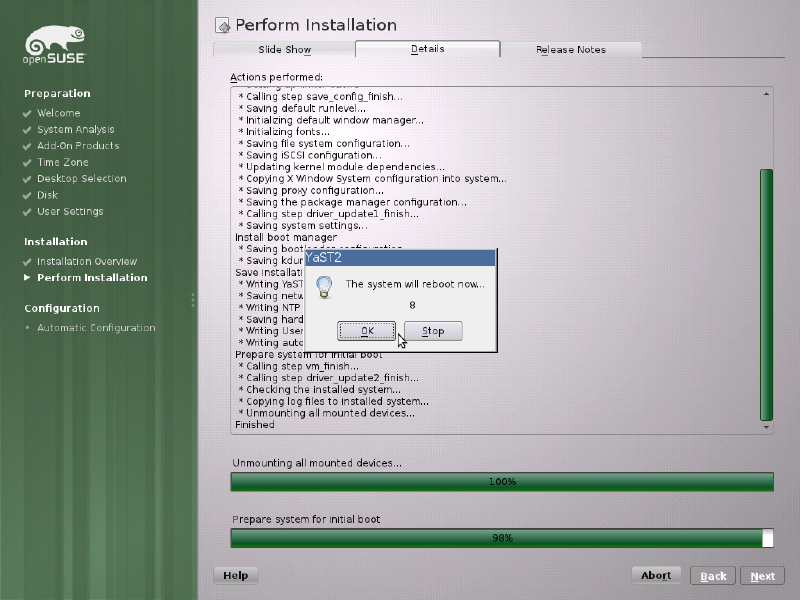
The actual install. It copies files, sets up the bootloader, saves configuration, and then prompts you to reboot. The countdown gives you a few seconds to cancel if something looks wrong.
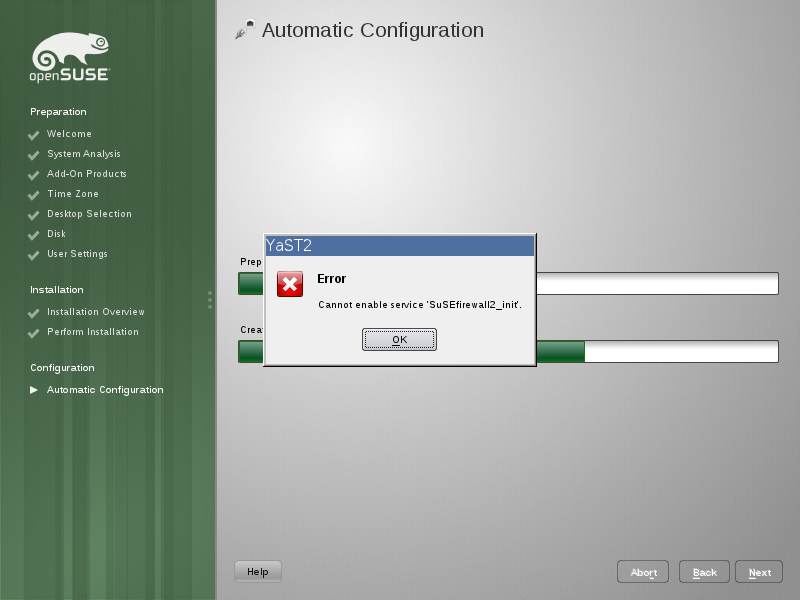
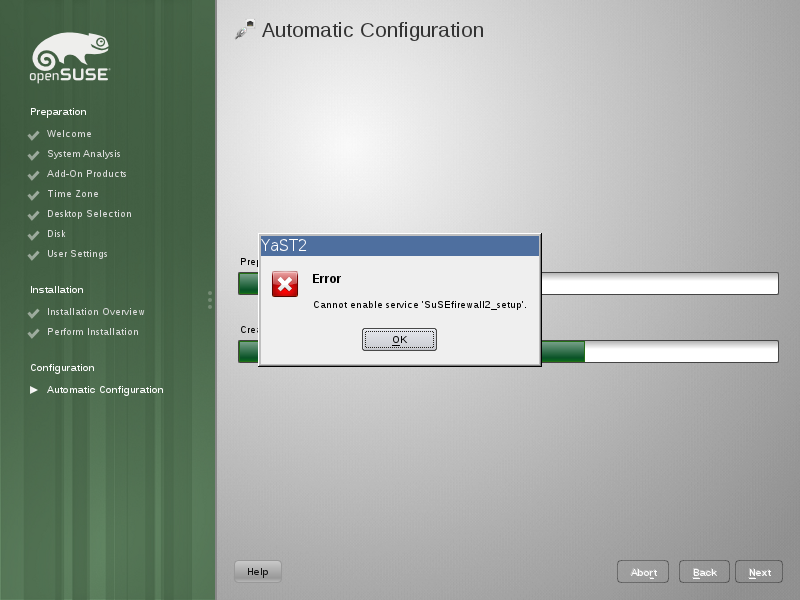
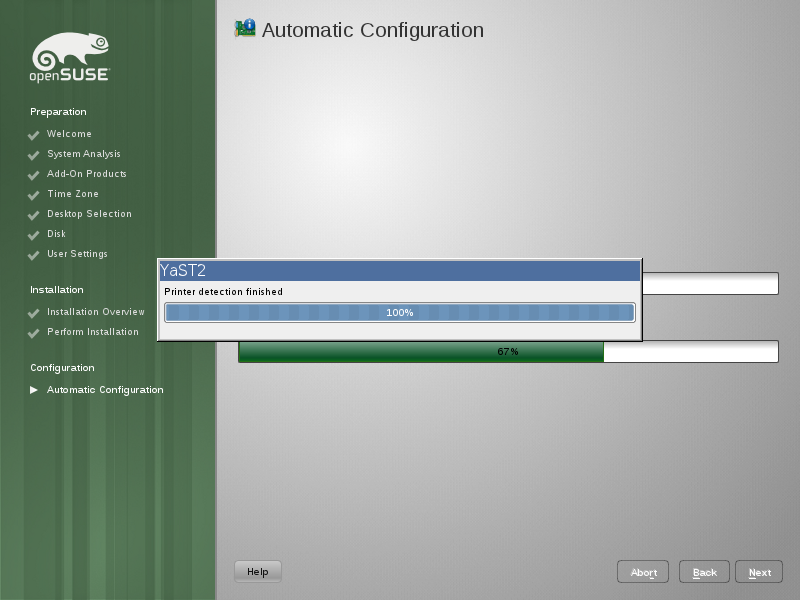
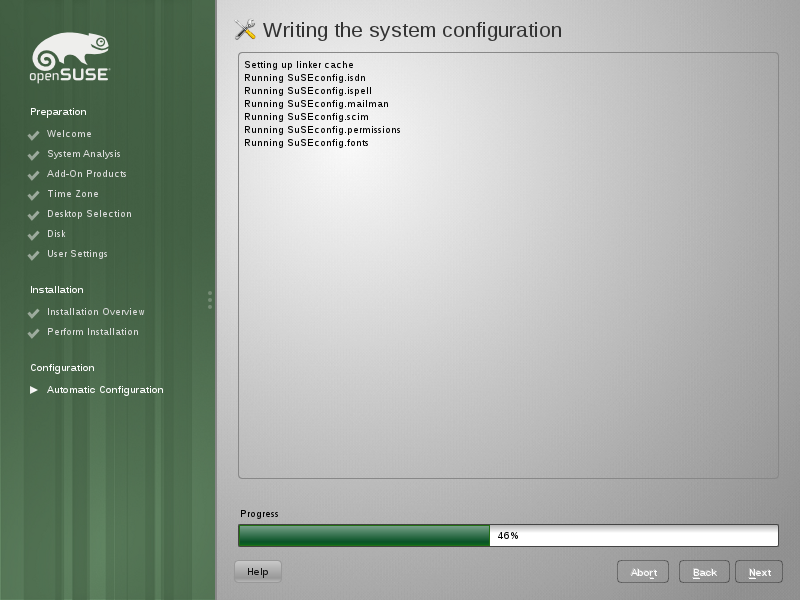
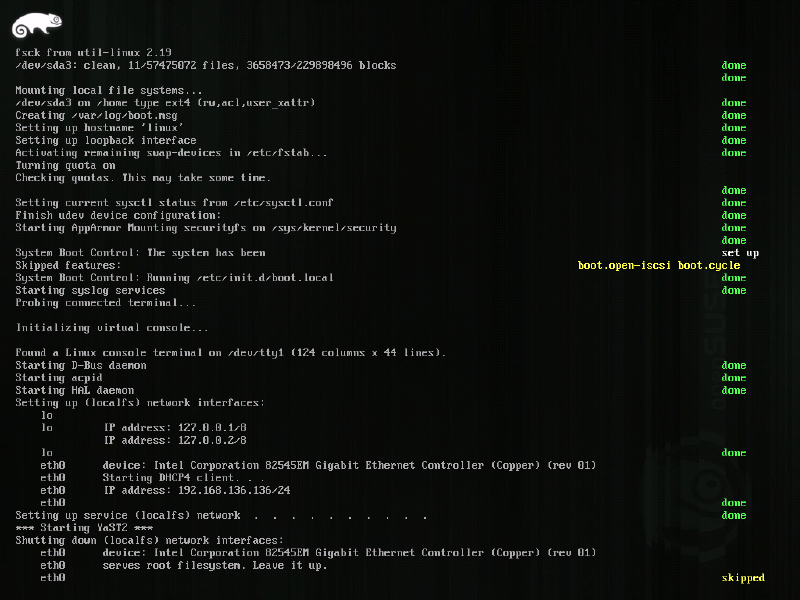
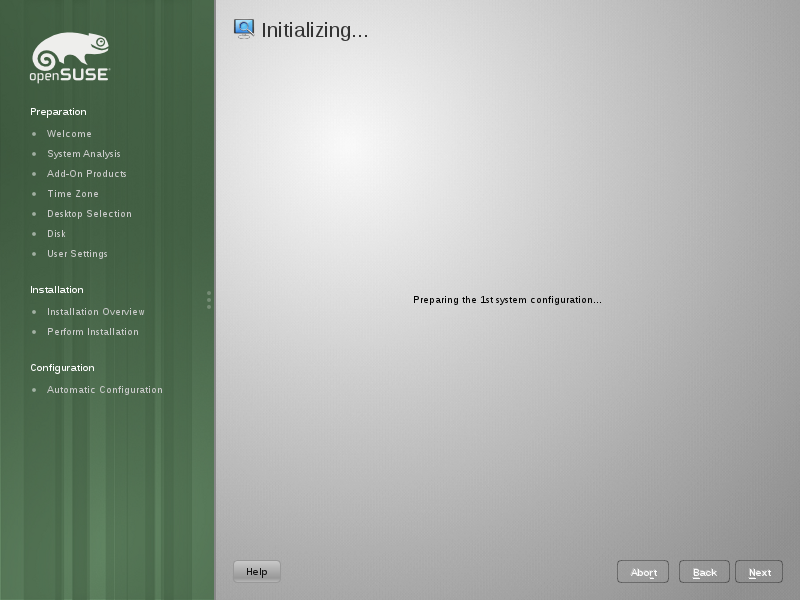
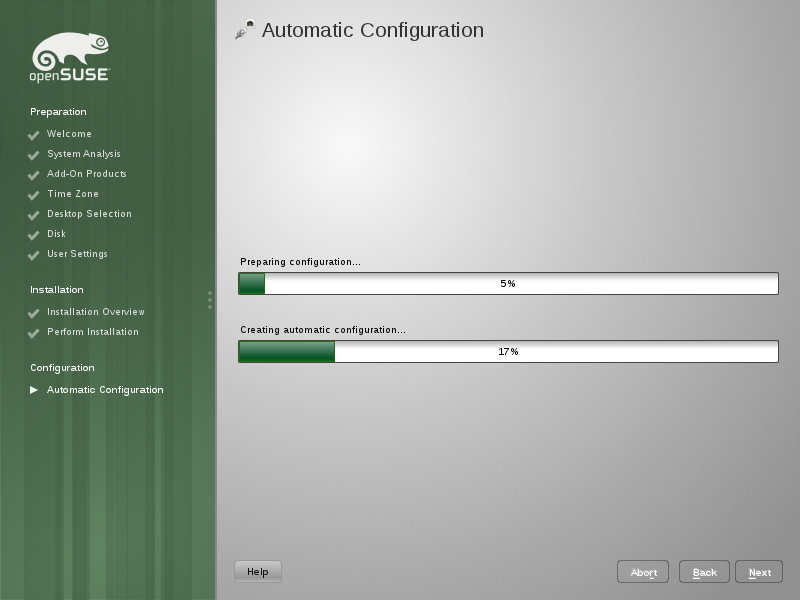
After reboot, YaST comes back for the post-install configuration. It sets up services, writes system config, and handles printer detection.

Some firewall service errors popped up during configuration, but they’re cosmetic. The install still completed fine.
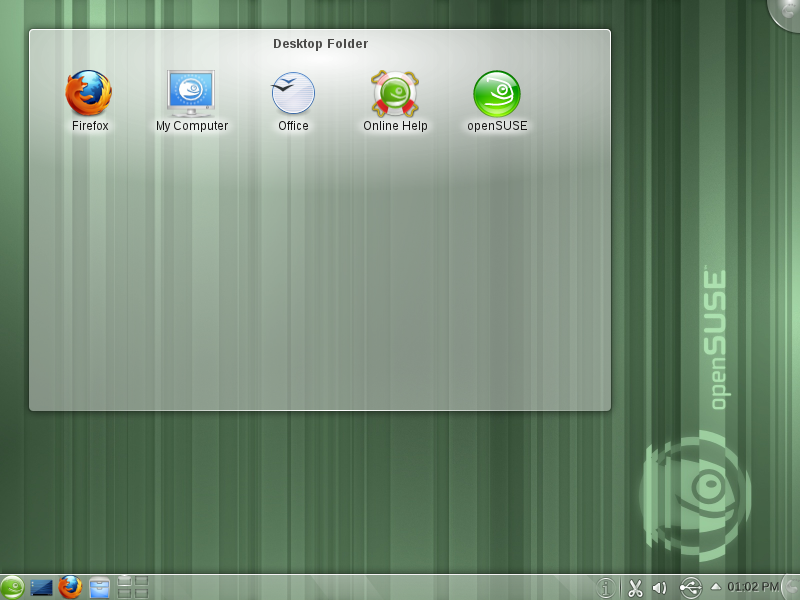
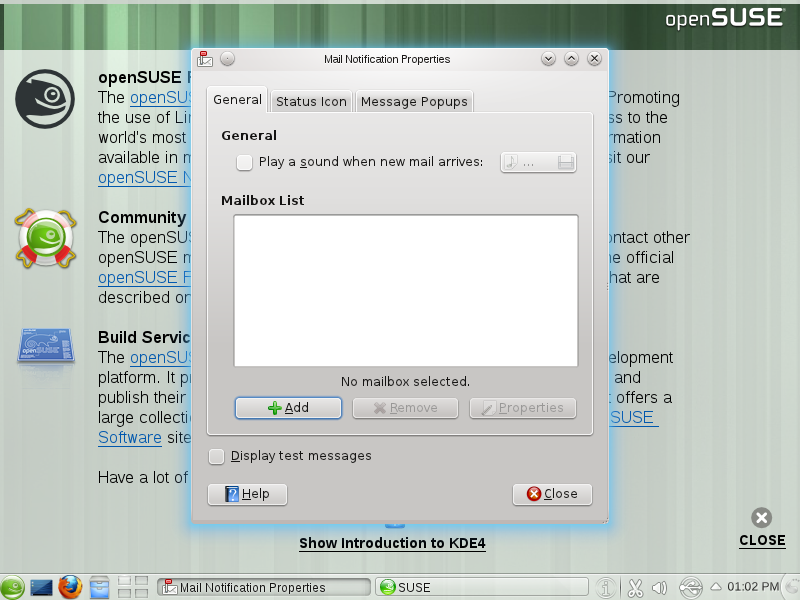
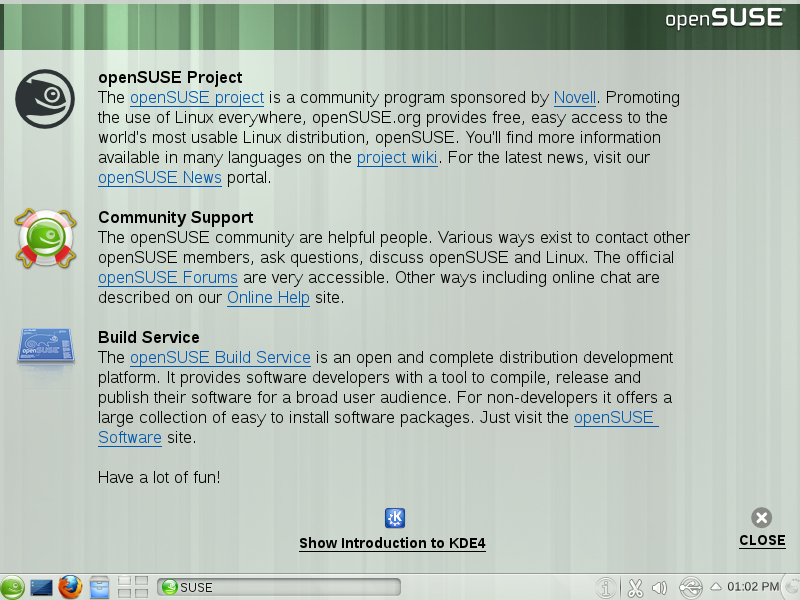
First boot into KDE4. The welcome screen pops up with links to the openSUSE project, community support, and Build Service. There’s also a mail notification dialog that I closed immediately.
The desktop. Clean KDE4 look with the Dolphin file manager, Konqueror, and the standard KDE apps. The taskbar at the bottom has the K menu, system tray, and clock.
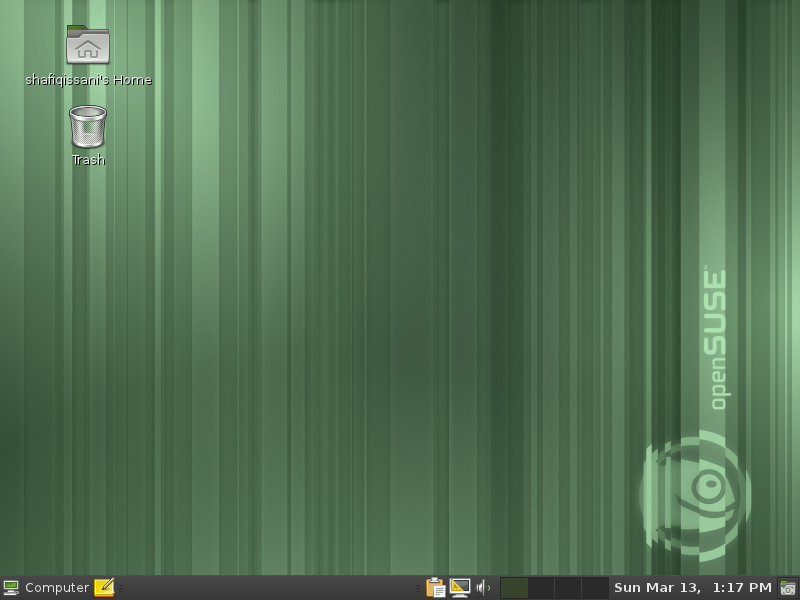
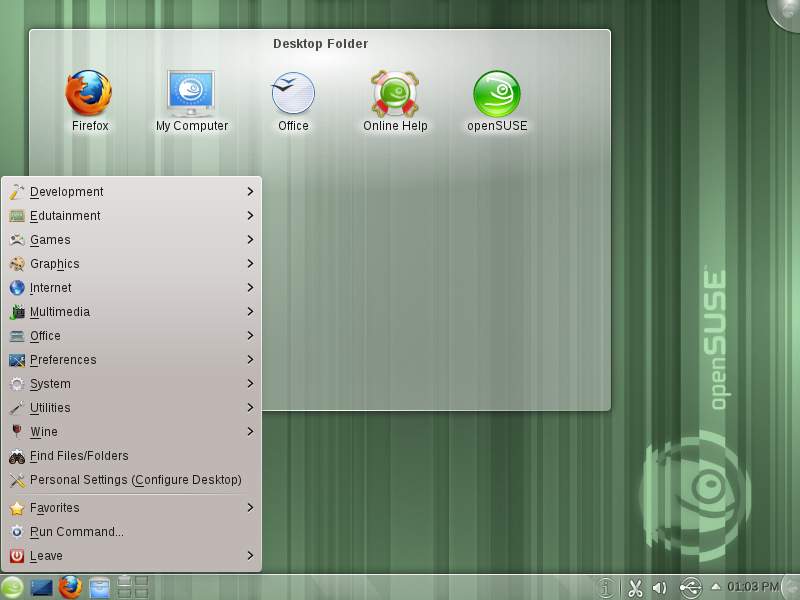
The K menu. Well organised into categories. I can see development tools, games, graphics, internet, multimedia, office, and even Wine support out of the box.
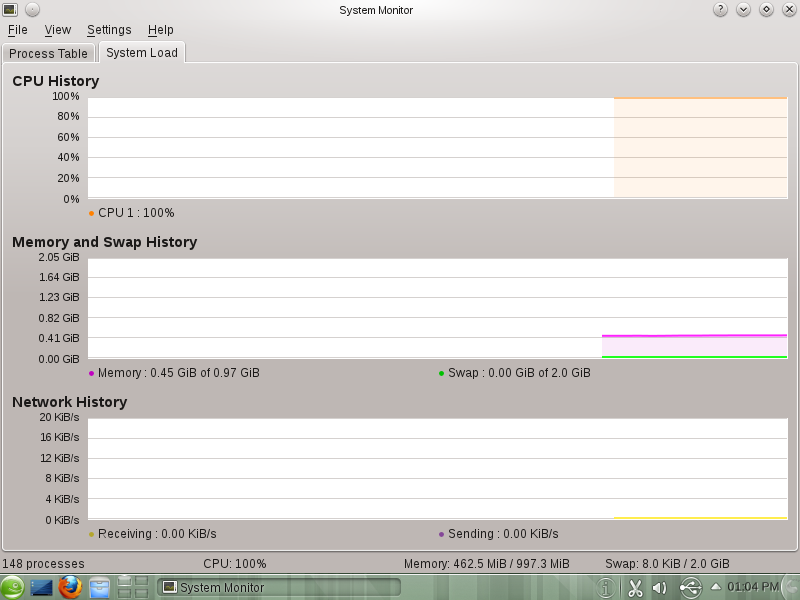
System monitor. 148 processes running, using about 462 MB of the 997 MB available. Not bad for a fresh KDE4 install.
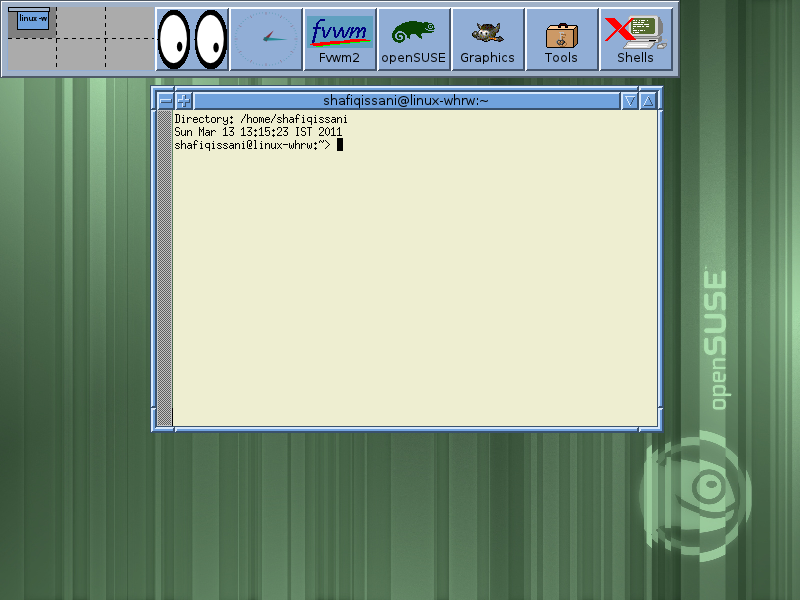
Switched to GNOME for a comparison. The fwm2 panel at the top is lightweight and functional. Terminal is open and ready to go.
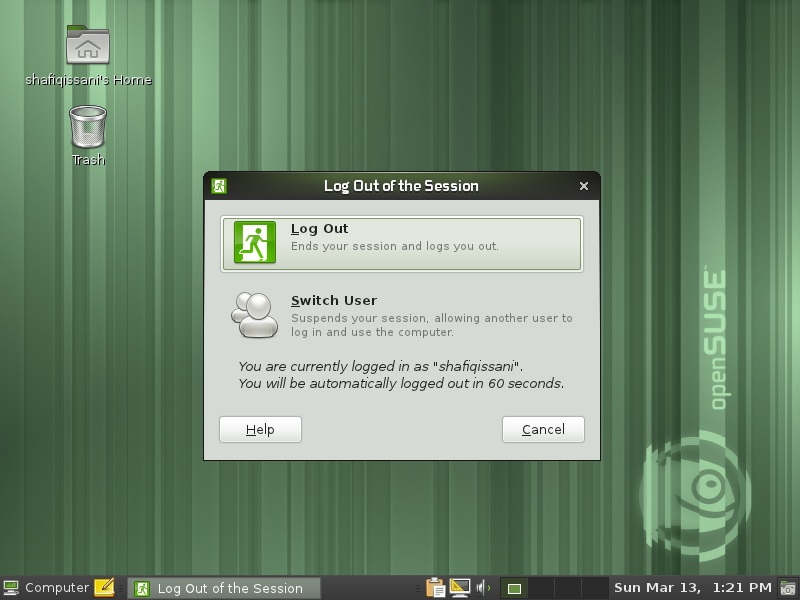
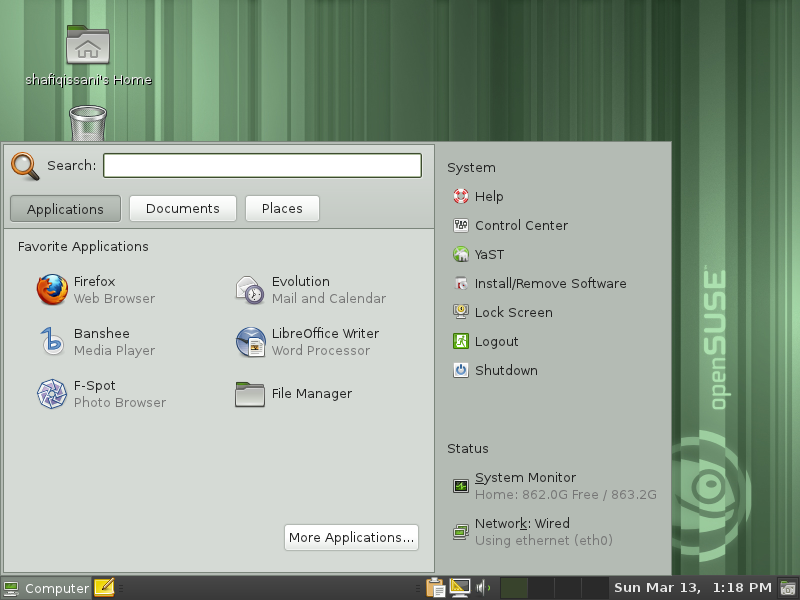
GNOME’s menu. Firefox, Banshee, F-Spot, Evolution, LibreOffice – the usual suspects. Clean and straightforward.
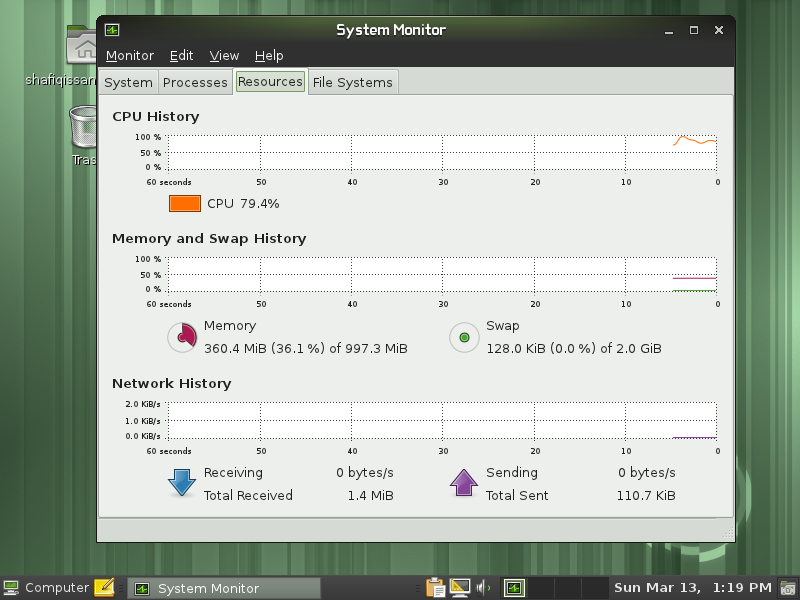
GNOME’s system monitor. 360 MB of memory used out of 997 MB. Slightly lighter than KDE4, as expected.
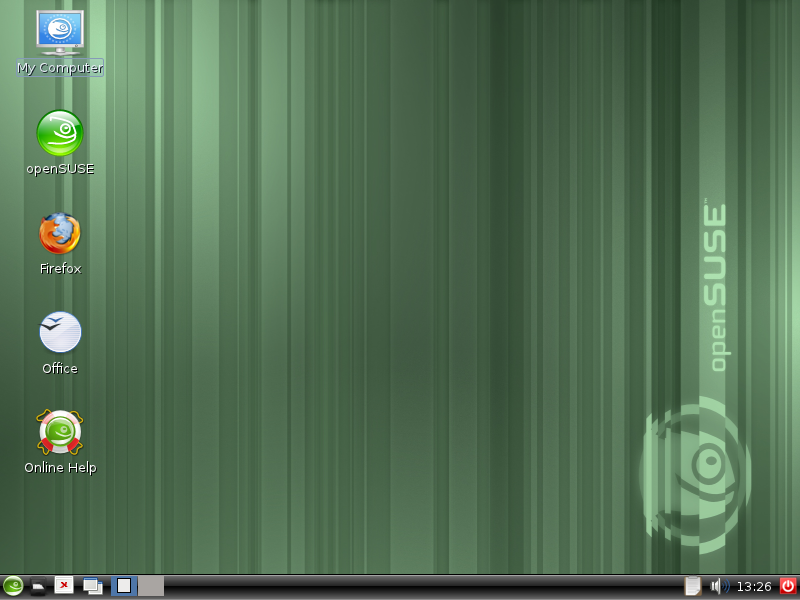
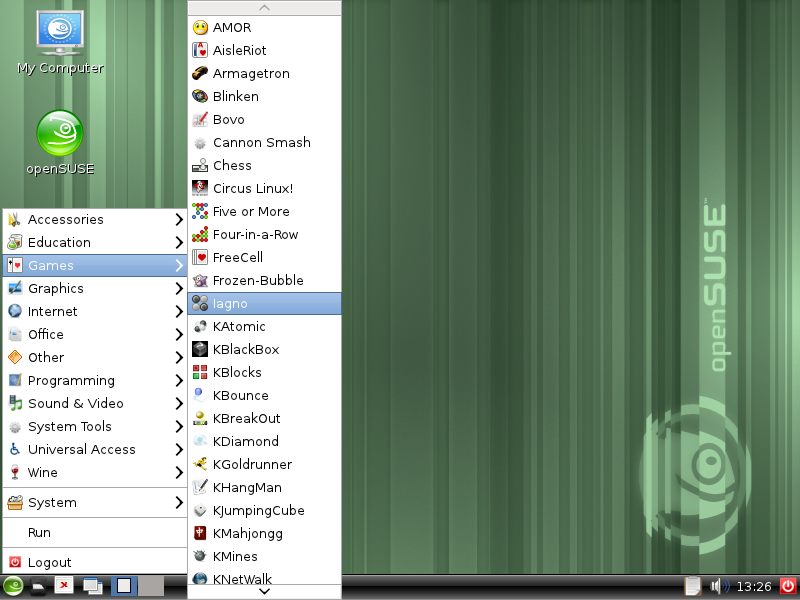
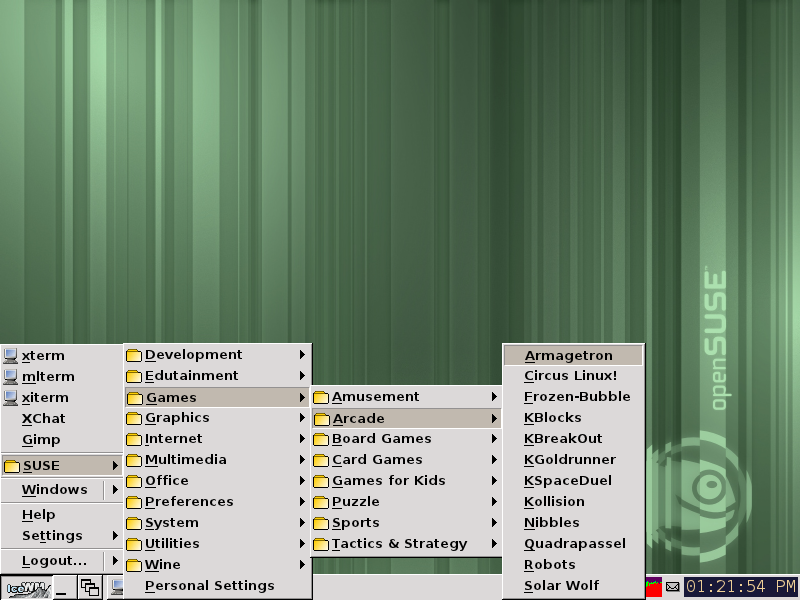
And finally XFCE. Lightweight, fast, and gets out of your way. The games menu alone has Armagetron, Circus Linux, Frozen-Bubble, and a dozen more.
That’s it. OpenSUSE 11.4 installs cleanly, the YaST2 installer is as solid as ever, and KDE4 looks sharp. I’ll dig into performance and real-world usage in a follow-up post.